
Why Is My Motherboard Light Orange?-If you’ve encountered the frustrating sight of a motherboard light turning orange, you’re not alone. A motherboard light that shows an unusual color can signal a number of things. In the case of an orange light, it’s a sign that something isn’t quite right within your system. Don’t panic just yet — while the “Motherboard Light Orange” might seem like a warning of a significant issue, it could be something relatively minor and easy to fix. In this article, we’ll break down the common causes of the motherboard light orange issue and guide you through possible solutions.
Understanding the Motherboard Light Orange
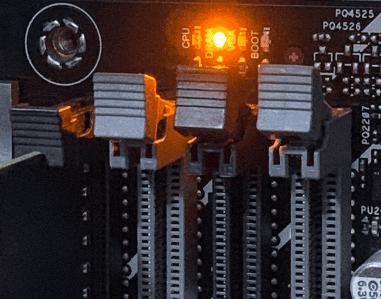
Before diving into potential causes, let’s first understand what the motherboard light orange means. Many modern motherboards are equipped with LED indicators to give users a quick visual cue about the system’s health. These lights can signal power issues, hardware malfunctions, or system status updates.
Typically, motherboards use colored LEDs to display different statuses. For example, green may indicate normal operation, red could signal a critical failure, and orange often appears as a warning or notification of an issue that needs attention. The precise meaning of an orange motherboard light can vary between manufacturers, but it generally suggests a problem related to power supply, hardware, or system settings.
Common Causes of a Motherboard Light Orange
There are several common reasons why your motherboard light might turn orange. Let’s explore these in detail.
1. Power Supply Problems
A faulty or insufficient power supply unit (PSU) is one of the most frequent causes behind an orange motherboard light. If your PSU is unable to provide adequate power to your system components, your motherboard might signal an orange light to alert you of the issue. This could happen if the PSU is damaged, malfunctioning, or not correctly connected.
Another possibility is if the PSU isn’t supplying enough power to meet the requirements of your system, especially if you’ve recently upgraded components like your GPU or added more RAM.
2. CMOS Battery Depletion
Another reason your motherboard light could turn orange is a depleted CMOS battery. The CMOS battery helps retain the system’s settings, such as the time and date, and ensures the system can boot correctly. If this battery is failing or dead, the motherboard may have trouble recognizing the system’s configuration, causing it to display an orange light as a warning.
Fortunately, replacing the CMOS battery is a simple and affordable fix that can solve the problem quickly.
3. Memory (RAM) Issues
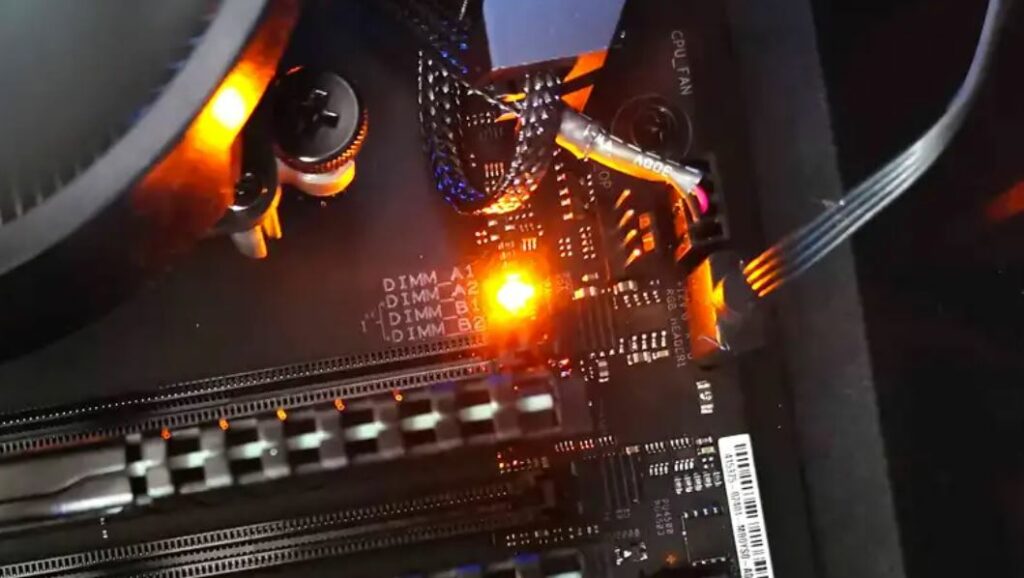
Your computer’s memory, or RAM, plays a critical role in the boot process. If there’s an issue with your RAM — whether it’s improperly seated, damaged, or incompatible with the motherboard — you may see an orange light on your motherboard. In this case, the motherboard is unable to properly detect or initialize the RAM, and this often results in the system not being able to boot properly.
4. Overheating
Excessive heat can also trigger the motherboard light to turn orange. Overheating occurs when your system’s components, especially the CPU or GPU, get too hot due to poor cooling, insufficient airflow, or a malfunctioning fan. When the motherboard detects high temperatures, it may indicate this issue by turning the light orange, signaling a potential problem with your system’s cooling system.
Keeping your system cool and ensuring there’s adequate airflow is critical for preventing overheating. Overheating can cause permanent damage if left unaddressed. (Read More: How Computer Technology is Transforming Education and Learning)
5. Incorrect BIOS Settings
Another possible cause for the motherboard light turning orange is incorrect BIOS settings. The BIOS controls many aspects of your system’s startup process, and if these settings are misconfigured, it can prevent the system from booting correctly. In some cases, a BIOS update or reset to factory settings might be required to restore normal functionality.
Incorrect BIOS settings could occur after overclocking attempts, changes made in BIOS menus, or even after a failed BIOS update.
6. Hardware Failures
If none of the above causes seem to apply, the issue could be related to a more significant hardware failure. A damaged motherboard or a failing component, such as the CPU, GPU, or storage device, could trigger the motherboard light to turn orange. In these cases, the system may not be able to properly boot, and the motherboard will display the orange light as an error code.
Hardware failures are often accompanied by other symptoms, such as system crashes, blue screens, or unusual noises coming from the computer.
Troubleshooting the Motherboard Light Orange Issue
Now that we’ve covered the common causes of the “Motherboard Light Orange” issue, let’s discuss some steps you can take to troubleshoot and fix the problem.
1. Inspect the Power Supply
The first step is to check your power supply. If you suspect a PSU issue, start by ensuring that all power cables are correctly plugged in and secure. Verify that the PSU is capable of delivering the necessary wattage for your system, especially if you’ve recently added new hardware like a high-performance graphics card.
If the power supply is old or showing signs of wear, consider replacing it with a new, reliable model. You can also try testing your system with another PSU if you have one available. (Read More: How to Choose the Best VGA Adapter for Your Gaming Setup)
2. Replace the CMOS Battery
If your motherboard light is orange and you suspect the CMOS battery is the culprit, it’s time for a replacement. A dead CMOS battery can prevent your system from saving important settings, which may lead to booting issues. You can easily replace the battery yourself by locating the small coin-shaped battery on the motherboard.
Simply pop the old battery out and replace it with a new CR2032 coin cell battery. After this, reset your system’s date and time settings, and check if the motherboard light changes from orange to another color.
3. Reseat and Test Your RAM
If your RAM is improperly seated or malfunctioning, it could be causing the motherboard light to turn orange. To fix this, power off your computer and carefully remove and reseat your RAM sticks into their slots. Make sure the RAM is properly aligned and locked in place.
If reseating the RAM doesn’t help, try using just one stick of RAM at a time to see if one of the modules is faulty. You can also try using different RAM slots to rule out the possibility of a faulty motherboard slot.
4. Monitor the Temperature
To check for overheating, make sure that your CPU and GPU temperatures are within safe operating ranges. You can monitor the temperatures using software like HWMonitor or BIOS itself. If your system is running hot, ensure that all fans and heatsinks are working correctly.
Cleaning dust from your case and ensuring there’s adequate airflow can help prevent future overheating. In extreme cases, you may need to install additional fans or upgrade the thermal paste on your CPU.
5. Reset the BIOS
If the orange light is caused by incorrect BIOS settings, resetting the BIOS to default settings may help. You can reset the BIOS by either using the jumper on the motherboard or by removing and reinserting the CMOS battery for a few minutes.
Alternatively, you can try updating the BIOS if a newer version is available, especially if you’re using outdated firmware.
6. Check for Hardware Failures
If the issue persists after trying the above solutions, you might be dealing with a faulty motherboard or another critical hardware component. Look for signs of damage on the motherboard, such as burnt areas or swollen capacitors.
Testing each component individually, such as the CPU, GPU, and storage devices, can help pinpoint the issue. If you’re unable to identify the faulty component, professional repair or replacement may be necessary. (Read More: The Role of Computer Technology in Advancing Artificial Intelligence)
Final Thoughts
Dealing with a “Motherboard Light Orange” issue can be frustrating, but it’s important to take a methodical approach to diagnose the problem. By following the troubleshooting steps outlined in this article, you should be able to identify the root cause and take the appropriate action to fix it. Whether it’s a power supply issue, RAM problem, or overheating, there are plenty of solutions to get your system back on track.


